So, you're into Rise of Nations and want to unlock those ports for multiplayer gaming? Well, you're in the right place, my friend. In this article, we're diving deep into everything you need to know about unlocking ports to enhance your multiplayer experience. Whether you're a newbie or a seasoned player, this guide is packed with actionable tips, tricks, and expert advice to help you dominate the battlefield. So, grab your favorite drink, sit back, and let’s get started.
First off, Rise of Nations is one of those games that has stood the test of time. Released way back in 2003, it’s still a favorite among strategy gamers worldwide. The multiplayer feature is what makes it truly special, allowing players to compete against each other in real-time. But, hold up—before you can dive into the multiplayer madness, you need to unlock those ports. Trust me, it’s a game-changer.
Now, why should you care about unlocking ports? Well, it’s all about ensuring a smooth and lag-free gaming experience. Ports are like the gateways that allow data to flow between your computer and the server. If they’re not properly configured, you might end up with connection issues that can ruin your gaming session. In this guide, we’ll show you exactly how to unlock those ports and set up your system for multiplayer success. So, let’s dig in!
Read also:Elizah Huberdeau The Rising Star Redefining Music And Creativity
Understanding Ports in Rise of Nations
Alright, let’s break it down. Ports are basically like little doors on your computer that let data in and out. In the context of Rise of Nations, these ports are crucial for connecting to multiplayer servers. Think of them as the highway for your game data to travel back and forth. If these ports are blocked or not properly configured, your connection might suffer, leading to lag or disconnections.
Now, there are specific ports that Rise of Nations uses for multiplayer. The most important ones are:
- 6112 (TCP/UDP)
- 2300-2400 (UDP)
These ports are used for communication between your computer and the game server. If they’re blocked by your firewall or router, you’ll need to manually open them to ensure a seamless connection. Don’t worry, we’ll show you how to do that in just a bit.
Why You Need to Unlock Ports for Multiplayer
Here’s the deal: unlocking ports is essential for a smooth multiplayer experience. When you play Rise of Nations online, your computer needs to communicate with the server in real-time. If the necessary ports are blocked, this communication can be disrupted, leading to lag, disconnections, or even failure to connect altogether.
By unlocking these ports, you’re essentially telling your firewall and router to allow traffic through them. This ensures that your game data can flow freely, giving you a stable and lag-free connection. It’s like clearing the road for your data to travel smoothly, without any roadblocks or detours.
Common Issues Caused by Blocked Ports
Let’s talk about some common issues you might face if your ports are blocked:
Read also:Aigmaal Like Sites Your Ultimate Guide To Finding The Best Alternatives
- Lag: Your game might feel sluggish, with delayed actions and slow responses.
- Disconnections: You might get kicked out of the game randomly due to connection issues.
- Failed Connections: You might not be able to connect to multiplayer servers at all.
Sound familiar? If you’ve experienced any of these issues, unlocking ports could be the solution you’ve been looking for.
How to Unlock Ports for Rise of Nations
Now that you know why unlocking ports is important, let’s dive into the nitty-gritty of how to do it. There are a few steps involved, but don’t worry—it’s not as complicated as it sounds. We’ll walk you through the entire process step by step.
Step 1: Identify Your Router
First things first, you need to identify your router. Different routers have different interfaces, so it’s important to know which one you’re using. Check the back of your router for the model number, or log in to your router’s admin panel to find out.
Step 2: Access Your Router’s Admin Panel
Next, you’ll need to access your router’s admin panel. To do this, open a web browser and type in your router’s IP address. This is usually something like 192.168.0.1 or 192.168.1.1. You’ll be prompted to enter a username and password. If you don’t know them, check the router’s manual or contact your internet service provider.
Step 3: Locate the Port Forwarding Section
Once you’re in the admin panel, look for a section called “Port Forwarding” or something similar. This is where you’ll configure the ports for Rise of Nations. The exact location may vary depending on your router model, so you might need to do a bit of digging.
Step 4: Add the Necessary Ports
Now, it’s time to add the ports that Rise of Nations uses. Enter the following ports:
- 6112 (TCP/UDP)
- 2300-2400 (UDP)
Make sure to specify both TCP and UDP protocols for each port. Once you’ve added them, save your changes and exit the admin panel.
Step 5: Configure Your Firewall
Finally, you’ll need to configure your firewall to allow traffic through these ports. If you’re using Windows Firewall, go to Control Panel > System and Security > Windows Defender Firewall. Click on “Advanced Settings” and add a new inbound rule for each port. Again, make sure to specify both TCP and UDP protocols.
Troubleshooting Tips
Even after unlocking the ports, you might still encounter some issues. Here are a few troubleshooting tips to help you out:
- Restart Your Router: Sometimes, a simple restart can fix connectivity issues.
- Check Your IP Address: Make sure your computer’s IP address matches the one you entered in the router’s admin panel.
- Disable Firewall Temporarily: If you’re still having issues, try disabling your firewall temporarily to see if it resolves the problem.
Still stuck? Don’t worry—there are plenty of online resources and forums where you can seek help from fellow gamers.
Expert Tips for a Better Multiplayer Experience
Unlocking ports is just the first step in optimizing your multiplayer experience. Here are a few expert tips to take your gaming to the next level:
- Use a Wired Connection: Wireless connections can be unreliable, so using a wired connection can help reduce lag.
- Close Unnecessary Programs: Close any programs that might be using bandwidth, such as downloads or streaming services.
- Update Your Drivers: Make sure your graphics card and network drivers are up to date for optimal performance.
By following these tips, you’ll be well on your way to dominating the battlefield in Rise of Nations.
Why Rise of Nations Still Matters
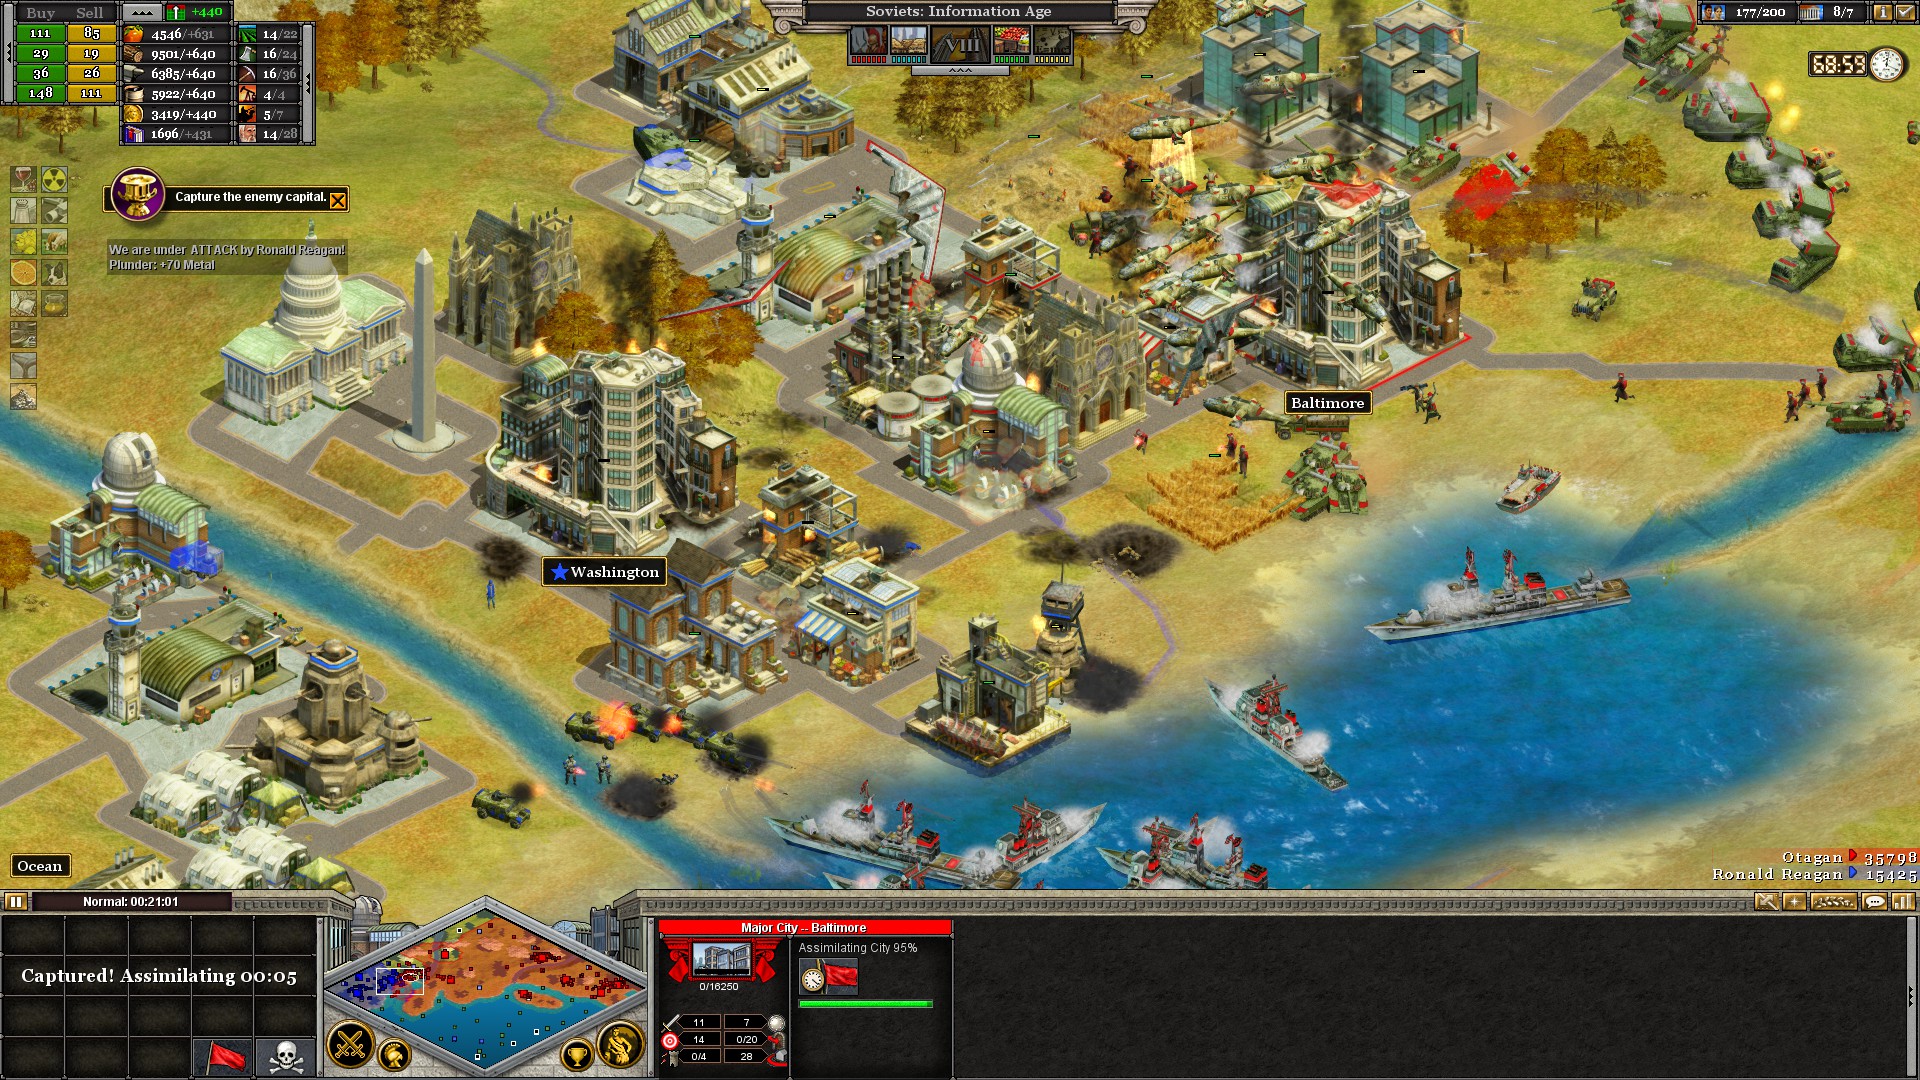
Now, you might be wondering why Rise of Nations is still relevant in today’s gaming landscape. Well, it’s all about the strategy and depth that the game offers. Unlike many modern games that focus on fast-paced action, Rise of Nations is all about careful planning and resource management. It’s a game that rewards patience and strategic thinking, making it a favorite among hardcore strategy gamers.
Plus, the multiplayer feature adds a whole new level of excitement. Competing against other players in real-time is what makes Rise of Nations so addictive. And with the right port configuration, you can ensure a smooth and lag-free experience that will keep you coming back for more.
Conclusion
So, there you have it—everything you need to know about unlocking ports for multiplayer in Rise of Nations. By following the steps outlined in this guide, you can ensure a seamless and lag-free gaming experience. Remember, unlocking ports is just the first step—there are plenty of other ways to optimize your gameplay and take your skills to the next level.
Now, it’s your turn to take action. Unlock those ports, fire up Rise of Nations, and show your opponents what you’re made of. And don’t forget to share this article with your fellow gamers—it might just help them out too. Happy gaming, and may the best strategist win!
Table of Contents